Friday, October 5, 2018

Gen Con 2017 Recap - Gen Con's 50th Anniversary!

Sooooooo..... this recap is WAY overdue. Over 14 MONTHS overdue. Better late than never, right? The drawback is that you tend to forget a lot of the details of an event over the course of 14 months. As such, dear reader, I apologize that you won't get the detail I usually provide.


Comparing Gen Con's 50th anniversary to the previous year, I'd have to say it was much better than Gen Con 2016. Even though it SOLD OUT for the first time in its history, somehow it didn't feel as crowded. I did some miniature painting, but no speed painting. And I felt like I got to spend more time with friends, old and new.

Wednesday
The first thing we did after dropping our gear off at the hotel was to hit the Will Call line to pick up our badges. Despite the convention selling out, the Will Call line moved amazingly quickly. We discovered the reason: if you don't have badges to sell, you convert those booths into Will Call! Boom!

A quick visit to Thai Paradise for dinner, then back to the hotel.

Once we got settled into our chosen conference room,  DJ Douglass presented me with a copy of Titansgrave! Apparently, I was the winner of the contest he was running on Twitter. Yay!

Then we got to playing some lightweight fun games. Specifically:
Thursday

I decided to ride the wave into the exhibit hall as soon as it opened. First stop was the Indie Press Revolution booth to pick up the just released Fate Adversary Toolkit. While I was there, I was drawn to the Blades in the Dark Special Edition, so I snagged one while there were still copies on the shelf.

At 11:00, I attended the Monte Cook Games Seminar, at which they announced Numenera 2: Discovery & Destiny (Since over a year has passed, you can order it now!). The important thing to note is that it expands on the existing Numenera universe—it does not change the basic rules and is backwards compatible with the original Numenera.

Next up was Painting with Angel Giraldez: Nomads in Red, at noon. Red is a tricky color to highlight without it turning pinkish, so I thought I'd get some tips from Angel.
Angel's on left, mine on right
Next was a quick bite to eat from Edward's Drive-In Diner, where I picked up a tasty Fish Basket with Onion Rings.

Then, back to the exhibit hall, where I stumbled into Exploding Kittens' Vending Machine. Their setup is clever and hilarious! It's like a bizarre interactive puppet show. A customer places their order by punching in the big buttons on the front, the vendor crew communicates via signage, and payment and product is a exchanged through the slots.

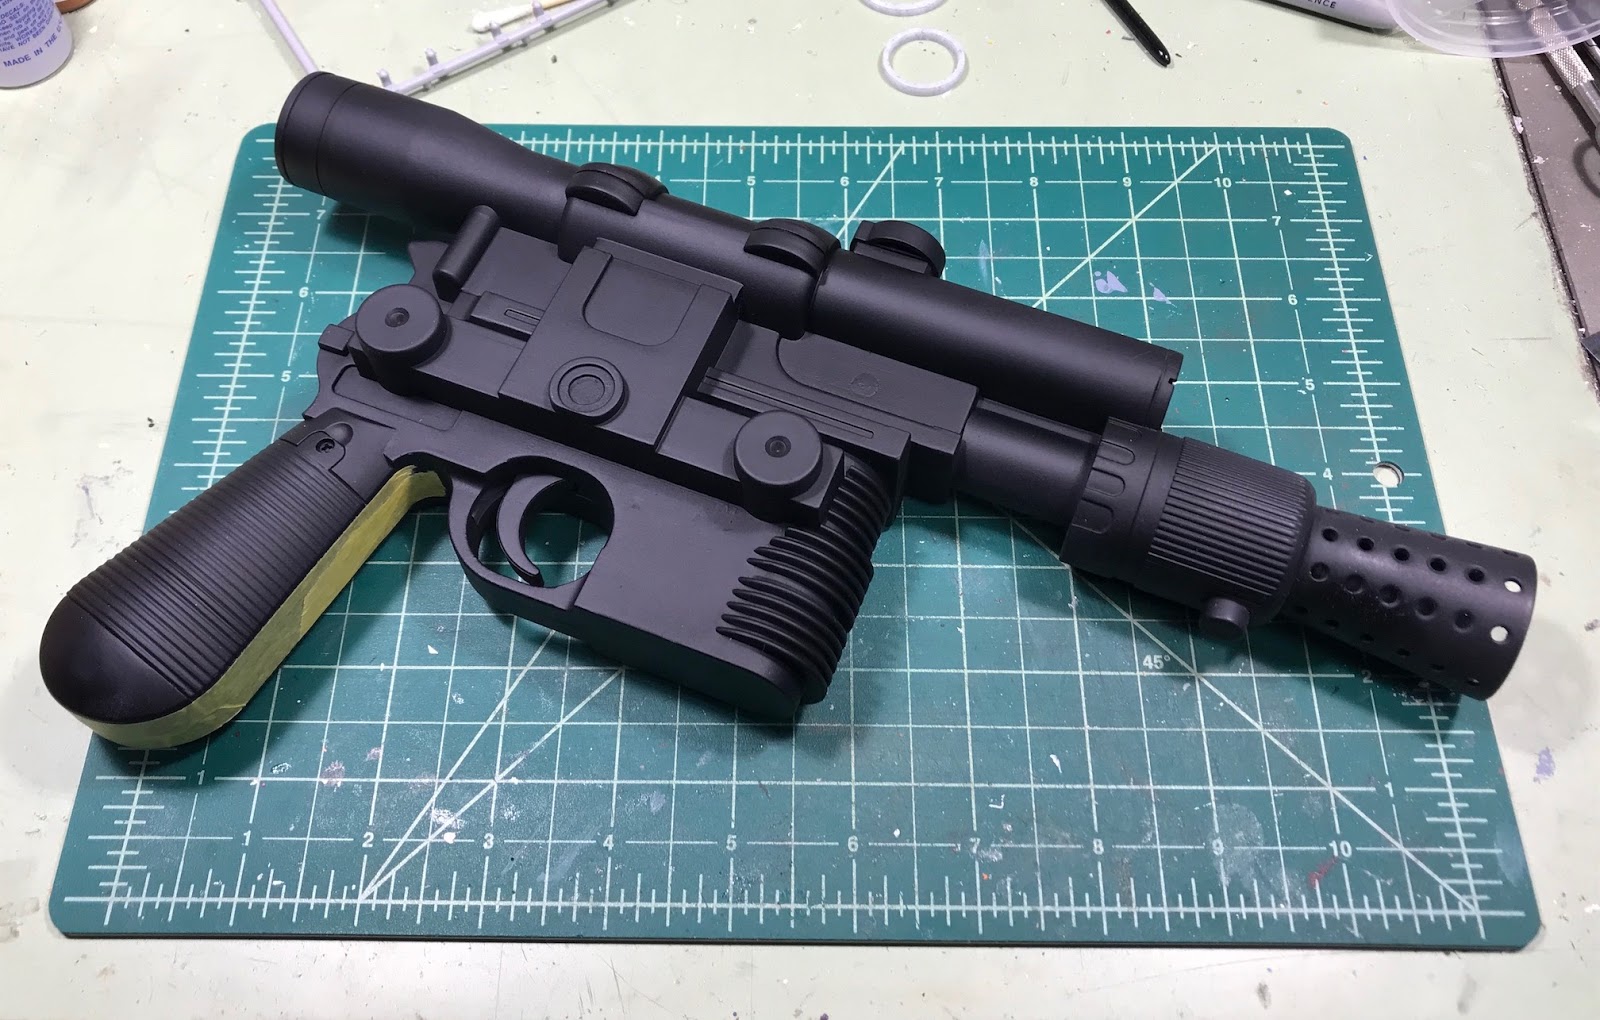
I was able to meet up with Brad and we walked the hall together. Brad was a good sport, as, once we discovered the Weta booth, I spent a half hour chatting with Leri Greer on everything from movie props to living in New Zealand. Thanks, Leri! Totally cool of you to spend so much time chatting!

While I was at the Weta booth, I picked up the Ghost in the Shell and District 9 art books (Leri was also cool enough to sign them), and Neck Port Cyber Enhancement Tattoos!

At 5:00 I had a class on Blending & Glazing Basics for Miniatures & Models. I wish I could remember what I got out of it...

Then dinner with the gang at High Velocity at the JW, where I ordered the Salmon BLT—yummy!

At 8:00 PM, I attended the RPG session: C-Squad. It's Not Just a Job, It's a Death Sentence! Apparently, Cyberpunk 2020 is popular again, as not only was it full, but the GM kept adding folks who showed up to fill empty slots. I think we had eight or nine bodies around the table.

Friday
I started Friday at 10:00 AM with another Painting with Angel Giraldez class: Dog Warrior Skin. Angel showed us how to add texture by painting in the muscle strands across the warrior's chest. He made it look easy, but I need to seriously up my game in order to pull it off.

It was getting pretty crowded and I wanted to hit the exhibit hall again quickly, so, for lunch, I hit one of the convention center counters for pizza.

I made a beeline for the Corvus Belli/Warsenal booth so I could pick up the Limited Edition Gen Con bundle of Infinity miniatures as well as a Xǐguǎn Tower from Warsenal. 

At 1:00, I had a Technoir game where we played Mega-Tokyo book. I had fun, but the GM scheduled 5 hours, 'cuz he likes to take his time...

I then met up with Brad, Scott, Kristen, & Marty at Mikado for our obligatory annual sushi dinner. Again, those Seafood Puffs are amazing!

Back in the hotel conference rooms, we gathered at 10:00 to play Titansgrave with DJ. He ran a fun game and I'd like to see where the plot could have kept going.

Saturday
I was excited to try out some old school RPGs this year, so I signed up for the 10:00 AM session of Star Frontiers - The Return to Digsite Delta-3. If I remember correctly, I was a Dralasite demolitions expert and we ended up packing a mine cart full of explosives and shuttling it directly into the middle of the Sathar operations. Old school explosive damage is amazing!

Once out of Star Frontiers, I left the rest of the day open for a full "Hall Crawl", only stopping for lunch at Der Pretzel Wagon for the obligatory Greedo sandwich.

After the hall closed, I met up with Brad, Scott, and Scott's crew briefly before heading back to the room for a quick nap.

After a few winks, I met up with the gang in our regular conference room to get our last night gaming in. I started with a round of Kaiju Incorporated which I enjoyed, but the regular Magic and 7 Wonders players felt was too simple. That was followed by Mysterium, a fun cooperative murder mystery game. Surprisingly, we rounded the evening out with some late night chatting. It's something we don't do much of anymore (because schedules) and I'm glad we had the chance at Gen Con.

Sunday
Time to wind things down for this gathering of the geeks. After packing the car, I popped into the hall for some last minute shopping on the way to the stadium.

My ride was gracious enough to give me some time to check out the Gen Con 50 Museum, particularly since I had pushed it out of my mind until the last day.

The entrance to the 'museum' was a recreation of the entrance to Horticultural Hall which was Gen Con's home from 1968 to 1970. Once inside, the convention's history was laid out as a timeline across several posters along the periphery. Clustered within, were several cases full of artifacts, for example:
I took a ton of photos and these are just a small sampling! Suffice it to say, I was glad I got some time to check out some of the history of gaming!

Sadly, it wasn't enough time to fully immerse myself in it, as my watch said it was time to go home.

Next time, Gen Con... Next time...

Tuesday, September 11, 2018

R.E.G. - Cyberpunk Random Encounter Generator

Hey! Cool news! Glenn in the comments below asked if he could make a port of it over on Chartopia. I gave him the go-ahead and here's what he came up with!
If you haven't noticed, Cyberpunk is cool again. With the buzz surrounding the Cyberpunk 2077 video game announcements (seriously, check these videos!), the 30th Anniversary of Cyberpunk 2020, and R. Talsorian's "Resurrection Tour" at Gen Con 2018, it's hard NOT to be excited about our favorite dystopic future genre.

Since that part of my brain is lit up, and in the same vein as the Random Loot Cards and New Tokyo Screamsheets pages I resurrected from a 2001 Cyberpunk Campaign, I give you...

R.E.G. - The Cyberpunk Random Encounter Generator!

R.E.G. started as a set of random encounter tables I put together as part of an ever expanding document of house rules for that 2001 cyberpunk campaign.
Eventually, four pages of lookup tables got to be excessive and the most cyberpunk thing to do was to make it into its own application.

Being a Mac user in 2001, my boss at the time suggested I use Hypercard to make it happen. For those unfamiliar with Hypercard, it's basically a "card" and "stack" based database with a graphical front end. To be honest, I forgot what version of Hypercard I used, but I did have to include a "plug-in" so it could handle COLORS!!!

Below is a breakdown of what the Hypercard stack looked like and how it operated.

When you opened the Hypercard stack, you were presented with this main screen:

Please note this was a one-off home-built app, not shared with anyone.
You selected your encounter based on where the player characters were located in the city and the approximate time. Clicking on the corresponding sector would move the targeting reticle to that spot. (Actually, all sectors had the same reticle—it just unhid the sector you selected and hid the others behind big black squares.)

Once you hit the ACQUIRE button, it randomly generated your encounters based on your time and location seed (Ha! The app was slow enough, that I included the green bar under the button to show where it was in the lookup cycle.), and switched to the following screen:


You would actually get three encounters—one in each black box—and it randomly selected an action number from a sub-table (see the PDF) for each encounter. The SET ACTION button allowed you to "reroll" the action values. The blue buttons scrolled through the entry so you could see the full action sub-table. The ENABLE buttons just indicated what your choice of the three was—selecting one ENABLE button would light up the other two DISABLE buttons. The REINITIALIZE button would bring you back to the main screen. I believe the tiny black square above the green and red triangle buttons showed you how many individuals were present in the encounter, and you could adjust that value with the buttons.


If somebody wants to go through the effort of making this into a modern mobile app of some sort, let me know and we'll discuss!

Wednesday, June 13, 2018

Making a Prop Han Solo's DL-44 Blaster from a Cheap Toy

If you've been following, you know my wife is with the Aurora 88s Roller Derby team. Her derby name is Hannah Solo, so for this year's photo shoot, we thought it would only make sense if she was holding Solo's DL-44 Heavy Plaster Pistol.

The Base Model

A quick search on Amazon showed us this beauty:

Photo from Amazon

At the time it cost me under $10 US plus shipping. Interestingly, if you check the comments, it looks like the only people who buy it are doing so to turn them into props!

Prep Work

The next step was to find a bunch of reference photos. Here's some of the ones that I found:
Also, I need to point out that this video by HappyTrooper was very helpful for some of the prep work and a couple of techniques: https://www.youtube.com/watch?v=KVkijEZ-EZI

Watching that video, I learned that the muzzle end cap could be removed. So I did that and then drilled out the vent holes, starting with a pin vise bit to center each hole and worked progressively upward to an 1/8" bit with an electric drill:


Since I didn't want to bore out or rebuild the scope, I measured each end and had a friend 3D print a couple of scope bezels:


The rear bezel is 30mm O.D., 26mm I.D., and 2.5mm thick. The front bezel is 23.3mm O.D., 20.3mm I.D., and 3mm thick. Since the scope is superimposed on the muzzle, I had to cut it to fit. I also cut a couple of slots in it to match the real scope used.

After gluing on the bezels, scraping off manufacturer marks, filling screw holes and part lines, I sanded everything flush as needed:


The next step was to hit it with a coat of black primer:


You can see I also started masking off the grip.

Weathering

Now to start weathering!

Since the original scope is made from brass—and if you've seen the new Solo movie, you can catch glimpses of gold—I decided to weather it with Privateer Press Formula P3 - Brass Balls:


Checking the reference photos, it appears the grip is made from a reddish wood. So I basecoated it in Reaper Master Series HD Paints - Sunburn Flesh (29821), painting in the direction of the "grain" and making sure a little bit of the black showed through. Then I painted on some additional grain lines with Reaper Master Series Paints - Mahogany Brown (09070):


It doesn't show it here, but now's the best time to describe it. I wanted to knock back those grain lines a bit and make the grip a bit redder, so I used the same Reaper Mahogany Brown and glazed it. Glazing is a fancy word for diluting the paint with water and brushing it on so it puts a transparent film over the other colors. In this case I diluted it 1:1 and did one pass. After that, I did a quick drybrush with a more yellowish brown, Reaper Master Series Paints - Harvest Brown (09200) to make it look a bit worn.

Next, I masked off everything but the muzzle. I wanted the muzzle to look like it had seen some heat and grime, so I used (and happened to have) three different metallic spray paints. First, I basecoated the muzzle in silver. While it was still damp, I then hit the rear parts with a warm bronze, then I touched up the fronts with some gunmetal. Lookin' sweet!:
My wife saw this step and said, "Neat! Carbon scoring!"

At this point, I sealed everything with Army Painter "Anti-Shine" Matte Varnish.

One of the things I caught in HappyTrooper's video was using graphite to give the prop a gunmetal look. I happened to have a jar of Secret Weapon Miniatures Metallic Iron pigment and gave that a try. On a whim, I put a nylon brush in my Dremel and gave it a gentle buffing. It turned out really great:


Unfortunately..... putting on a coat of Krylon satin enamel made the look disappear. Bummer.

Well, push forward on the weathering!

I am fortunate to still have a bottle of Citadel's old Mithril Silver and Chainmail acrylics. (If anybody has a good suggestion for replacing these in the future, hit the comments below!) Using these two, I carefully silvered the various edges, following the various reference photos.

At this point, I also dirtied up the grip and muzzle with some slightly thinned Reaper Master Series Paints - Pure Black (09037) acrylic, mashed it in to the nooks and crannies, and wiped much of it off with a paper towel:


One more coat of Krylon satin enamel and we're almost done.

Since I wanted the scope to look like glass, I stood the prop on end, poured a couple of drops of Vallejo Game Varnish - Gloss (72072), and let it sit overnight:


You may have noticed the crosshairs... Before I glued on the bezel, I scribed the crosshairs in with a dental pick. Before I glossed it over, I painted the lines in with Reaper Master Series Paints - Pure White (09030) acrylic, then followed that with a Delta Ceramcoat neon green.

Since I wanted to get the feel of different materials, I decided to use a couple of different finishes. First sprayed the muzzle matte again, adding a quick pass across the grips to flatten them down a bit too. I also sprayed the scope satin a second time to kick up the sheen. Then I touched up the rest with Vallejo clear varnishes—a less satiny body, the matte mounting bracket, etc.

The Finished Product!


That silver medallion took way to long to get the brushed steel look, and you can't even see it in this photo!

Hannah's pretty happy with the way it turned out!:

Photo by Cloud Photo


Thursday, March 8, 2018

"I want a HORROR chainsaw!"

My wife is currently a member of the Aurora 88s Roller Derby team. Every year, they have a "FunD Skate" in which they do raffles, a silent auction, and other activities in order to generate some funds for the coming year. The silent auction is usually a series of themed gift baskets. This year the auction included a "Horror Basket". She hands me a plastic chainsaw Christmas ornament she picked up sometime during the holidays and says, "Could you paint this like a horror chainsaw?"

This is what she handed me:

https://www.ebay.com/itm/282731062165
As I'm writing this, you can still get them on eBay from this seller.

"Sure! I'll knock that out in no time."

I scraped off the silver glitter, masked it off leaving just the blade, hit it with a couple of passes of silver Krylon spray paint, and painted some blood effects on it with some red ink mixed with gloss medium. Done! Easy-peasy!

Done! Easy-peasy!
I hand it back to her, and she says, "That's nice... but I was hoping for more guts hanging off the blade and stuff. I want a horror chainsaw."

"Sure, I can use some glue to build it up some..."

"I know what you're capable of! I want a HORROR chainsaw!"

I don't watch a lot of horror flicks, so I'm missing something. "Um..."

"Like the chainsaw from 'Texas Chainsaw Massacre'..."

Those were the magic words I needed to hear. A quick Google search produces THIS IMAGE.

Now I know what I'm aiming for!

I head back to my cave and get back to work:
  • Scraped off the remaining glitter. (This should have been a clue...)
  • Found an old can of gunmetal colored spray paint and painted the whole thing, wiping off some of the fresh paint to reveal the orange plastic below.
  • Painted the handles with flat black enamel paint.
  • Tore thin strips of duct tape and wrapped parts of the handles.
  • Weathered the whole thing with diluted black enamel and acrylic paints.
  • Made the gore texture with 5-minute epoxy, very thin strips of plastic bag from a dry cleaner (for translucent stringy stuff), and a tiny bit of Secret Weapon Rust Red pigment.
That got me to here:


A couple more rounds of "gore mix" and a couple of passes of the red ink and gloss medium, and voila!


This made her much happier!

And we'd like to think the winning bidder is happy with the result as well!


Thursday, February 8, 2018

Cyberpunk Random Loot Cards

What's In Their Pocketses...?

Recently, I picked up Paul D Gallagher's Augmented Reality (Blog, PDF,  Dead Tree). It's a fantastic resource for a generating a living city in your cyberpunk campaign.

Inspired by Paul's "What's on the Corpse?" table and thanks to the Internet Archive Wayback Machine, I decided to resurrect my Random Loot page, circa 2001.

What you'll see below is a slightly edited version; updated for clarity, more contemporary cyberpunk genres, and to be more system agnostic.

In case you can't obtain the cards I reference below, I've found 30mil blank white PVC CR80 ID cards on Amazon (they also make phenomenal Aspect cards for Fate games!). You can also get 30mil ID cards in various colors!

Random Loot

If you've ever had a problem with coming up with personal items and things your characters find on victims' bodies, what follows is an interesting and fun solution.

See, when we get a new player in the game, I just throw the character into New Tokyo and have them fend for themselves. Unfortunately, more often than not, the character ends up killing random street thugs and looting the bodies to come up with some creds. I got tired of having to come up with personal items every time they asked, "so, what do I find on the body?"

I also have a problem with spending money at a particular adult video arcade/bar & grill.

So I came up with something that solves both of those problems. This "barcade" tries to soothe you as you walk through the door by handing you a complimentary game card (worth approximately 1.7 games...) Last time I was there with one of my players, we burned up the complimentary card in about 2 seconds flat. Jason bent his card in half to keep them from recycling it. He asked me what I was going to do with mine. I told him I'd find a use for it in Cyberpunk or something. He looked at me with this big grin and exclaimed, "CredSticks!" Next thing I know, he's bopping around the place looking for used cards left on tables. Eventually, he asked one of the managers what they do with the cards. The manager told him they just pitched 'em. So Jason asked if we could collect them (GOOD IDEA - ask before collecting). As an added bonus, every time the manager passed our table, he dropped off a handful of the used cards he found. By the time we left, we had over 40 cards in different colors.

So what's this got to do with anything? Well, I made up a list of, "things in your pocket for 500cr., Alex", including some useless items, printed them out on stickers, and stuck them on the cards. The more expensive, uncommon, or "elite" items I put on the green and blue cards, since I only had six of them. As an added bonus, the cards look cool with the caution stripes.

My favorite card - just because it looks funny.
So..... next time one of the characters pickpockets, mugs, or loots somebody, I have them randomly pick a few red cards. Usually 1d6 cards. If the poor victim is "well-to-do", I shuffle in the blue and green cards (shuffling the cards aint easy!).

Here's the list I came up with:
(Credits values are low because the player can pick more than one card.)

  • 2 Credits
  • 3 Credits
  • 4 Credits
  • 5 Credits
  • 6 Credits
  • 7 Credits
  • 8 credits
  • 9 Credits
  • 10 credits
  • 2 Drug Capsules (Random street drug)
  • 2 Maglev Tokens
  • 2 12 ga. Shotgun Shells
  • 3 Bus Tokens
  • 3 Subway Tokens
  • 5 Empty 9mm Casings
  • Aspertabs (1d20 in the bottle)
  • 5.7mm Backup Pistol
  • Cheap Plastic Vending Machine Pistol
  • Baseball Cap (With "All Saints Auto Repair" or other auto shop printed on it)
  • Bit of Wire
  • Music Chip (Some band one of PCs hates)
  • Burner Phone (Currently locked)
  • Cheap Digital Watch
  • Cheap Gold Chain or Earrings
  • CredStick (Locked)
  • Data Chip
  • Digital Cab Hailer
  • Disposable Lighter (d100% full)
  • Disposable Pocket Flashlight (d100% battery life)
  • Squeeze Tube of Nutritional Paste (1 meal)
  • Generic Pack of Smokes (1d20 cigarettes remaining)
  • Green Glowstick (25% chance of being spent)
  • Leather Belt
  • Loose Key
  • MirrorShades
  • Nice Pen
  • Nice Watch
  • Old Screamsheet
  • Pack of Caffeine Gum (1d8 sticks remaining)
  • Pack of Gum (1d8 sticks remaining)
  • Pager
  • Pendant
  • Phone Number scrawled on a scrap of paper.
  • Pocket Lint
  • Pocket Tool (Knife, Wrench, Screwdriver, etc.)
  • Cheap Tablet (Map of New Tokyo is loaded)
  • SkillSoft (Level 1 - Roll one randomly from skillchip table)
  • Small Flick-Knife (7.5 cm. (3") long)
  • Small Polished Stone
  • Ticket Stub
  • Emergency Evacuation Contract Card (10% chance accidentally broken while retrieving it)
  • Used Breathing Mask
  • Used Syringe (10% chance of getting poked while retrieving it)